
Settings
A short map of what lives under each Settings page, so you can find the switch you're looking for.
Opening Settings lands on Features: the settings for reviews, loyalty and wishlists on one page, each under its own heading. A link to one of them, such as Settings → Features → Loyalty, scrolls to its heading.
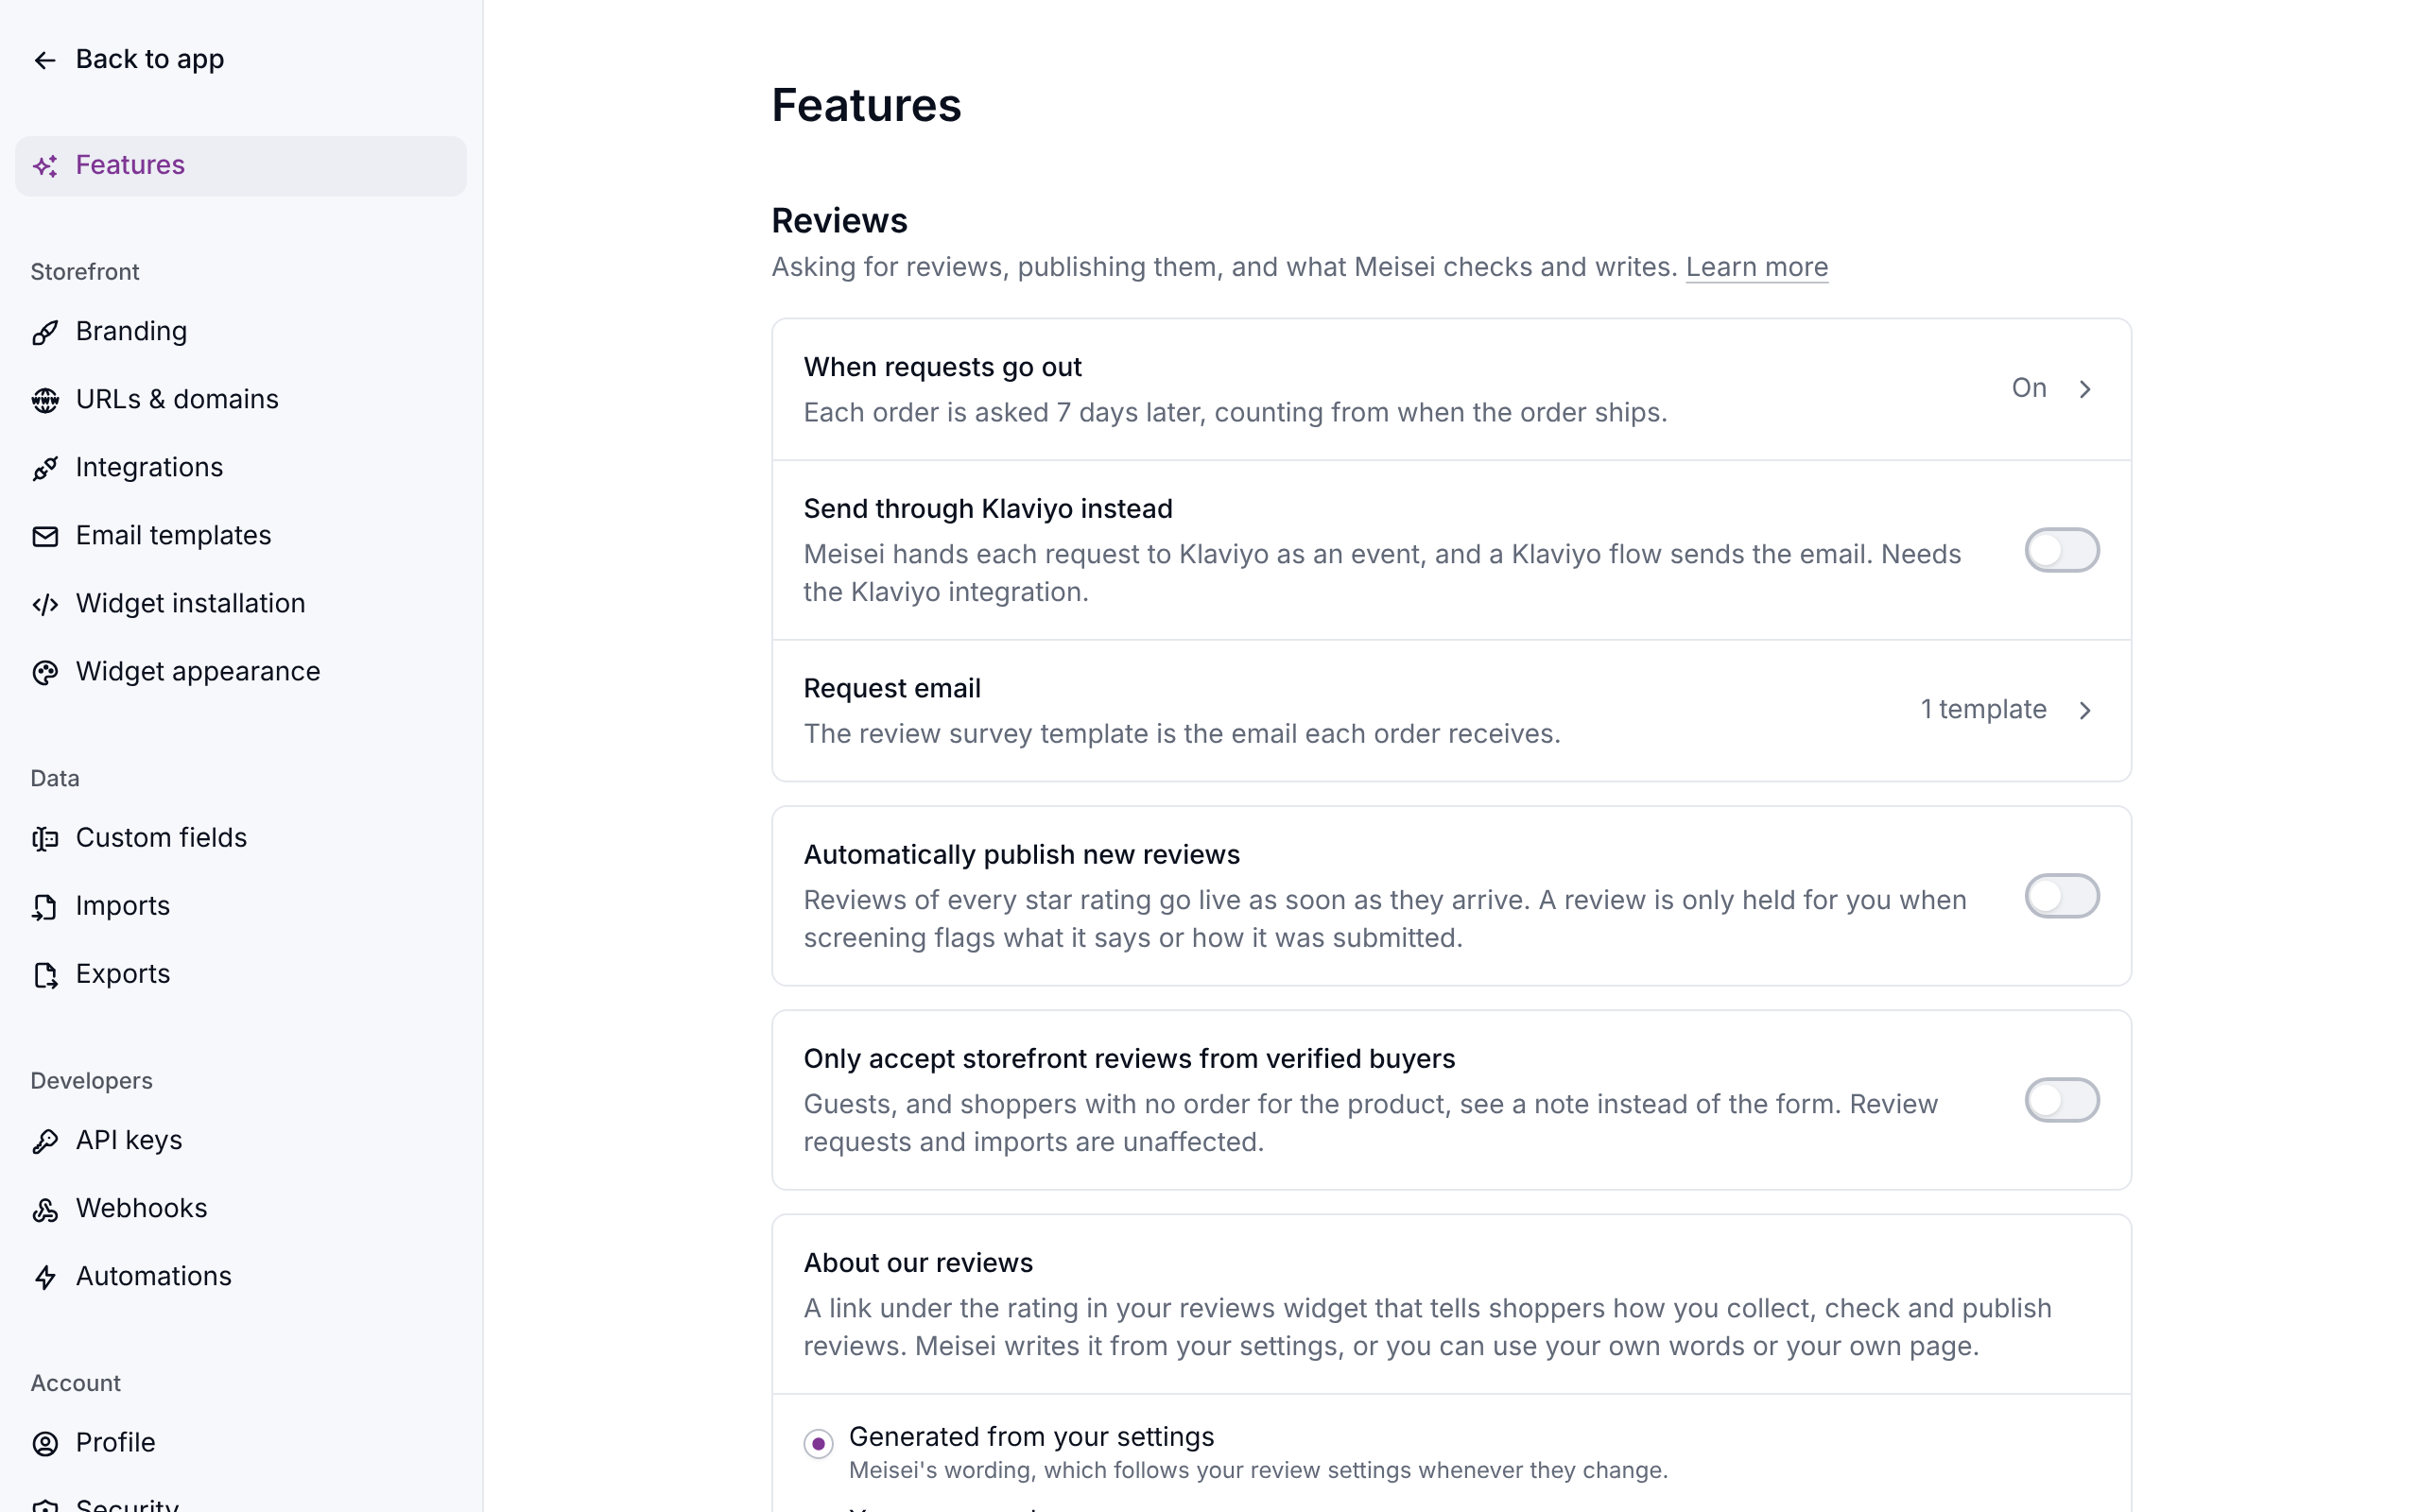
There's no Save button for most settings. A switch or a menu takes effect as soon as you change it, and a text box saves when you click or tab away from it, or press Enter. Press Escape to put back what was there before. A few changes that move things for your shoppers, like your address or your sending domain, still have a button so they don't happen by accident.
Organization
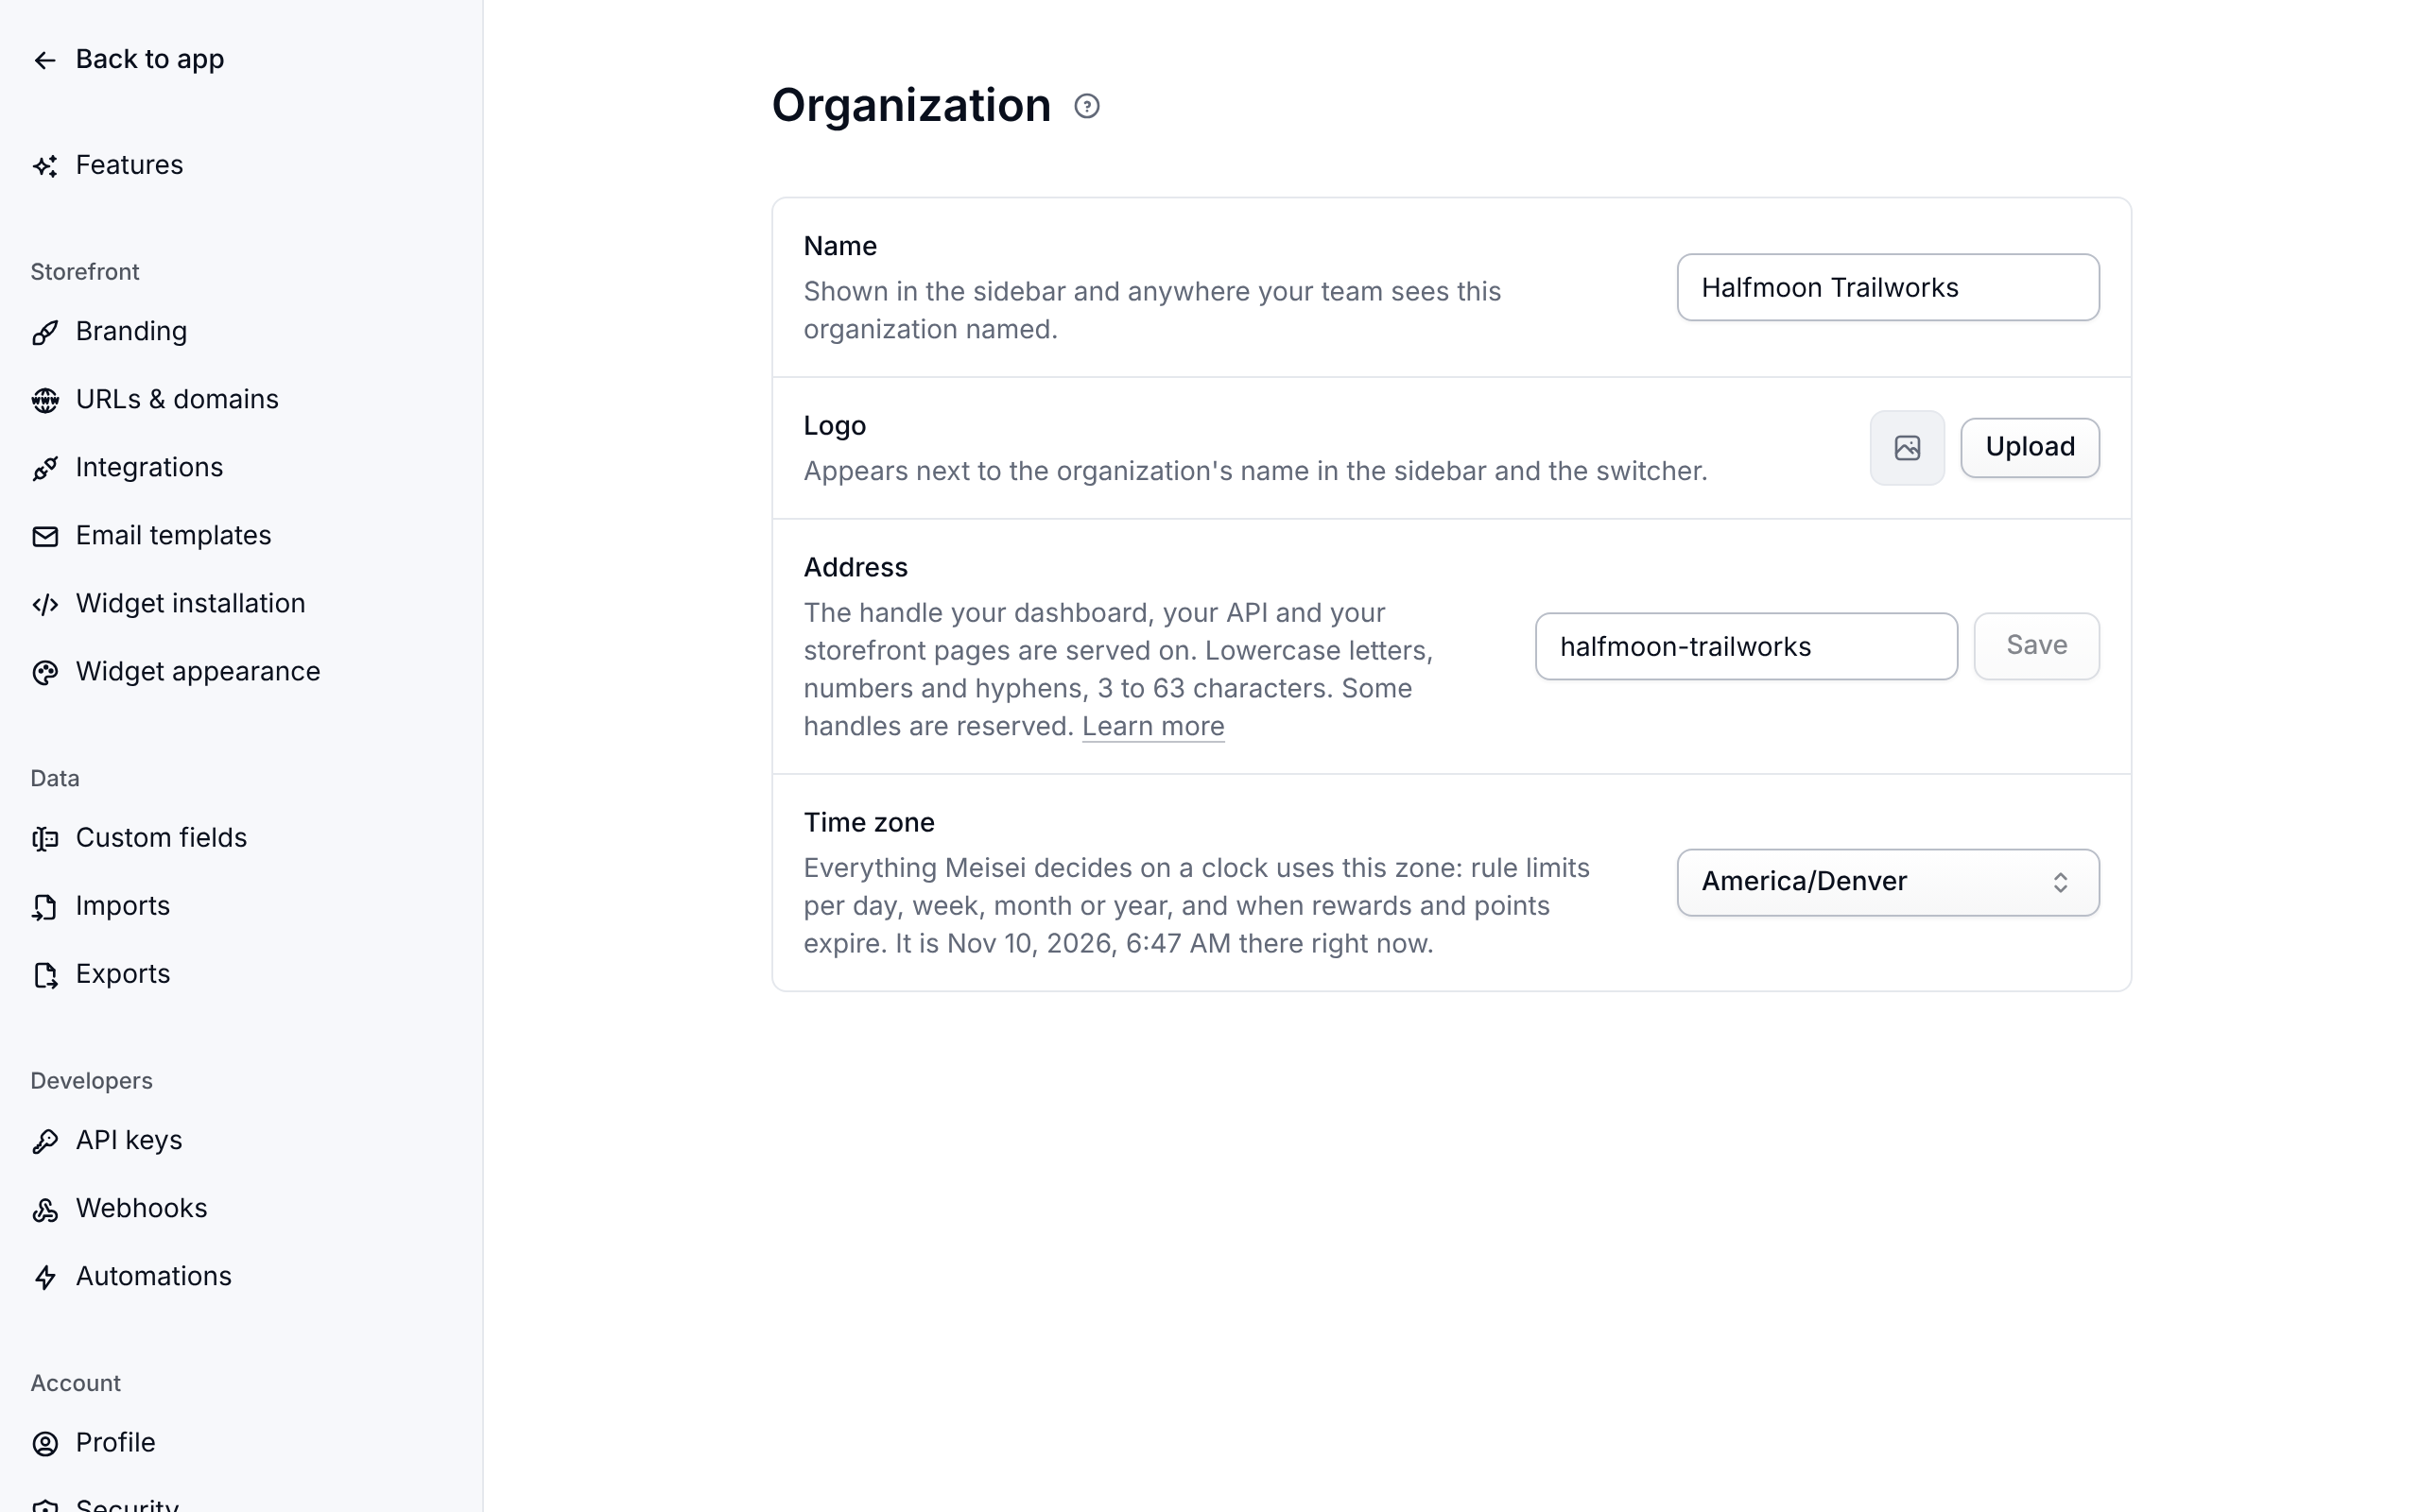
Settings → Organization holds your store's name and logo, which your team sees in the sidebar, and its time zone. The logo can be any image up to 2 MB. Choose Upload to set it and Remove to clear it. The change applies straight away, with no Save button, and a larger image is refused as soon as you pick it. The time zone decides which day an order counts on in your reports, when rule limits per day, week or month reset and when points expire. Set it when you start and leave it alone: changing it moves every future rule limit and expiry onto the new clock.
The switcher at the top of the sidebar links to Organization settings, Members and Billing. If you belong to more than one account it lists them all, and choosing one opens it. Each account has its own web address in Meisei, so you can bookmark the one you use most or keep two open in separate tabs. Create organization starts a fresh one.
Changing your address
Your address is the handle in the web address of your dashboard, your review, loyalty and wishlist pages, and anything a developer has set up. To change it, type the new handle on Settings → Organization and click Save.
Three things to know before you do:
- Your dashboard and your storefront pages move to the new address straight away.
- The old address keeps working. Links you've already shared, emails already sent and anything a developer has pointed at your store go on working.
- You can change it once every 30 days.
Handles use lowercase letters, numbers and hyphens, and are 3 to 63 characters long. Some are reserved, and one another store already uses is taken. If yours is refused, Meisei says which it was.
Members and billing
- Settings → Members: invite your team and set who can manage the account. See Members and roles.
- Settings → Billing: your plan and what you've used this period. See Billing and Plans and limits.
Profile
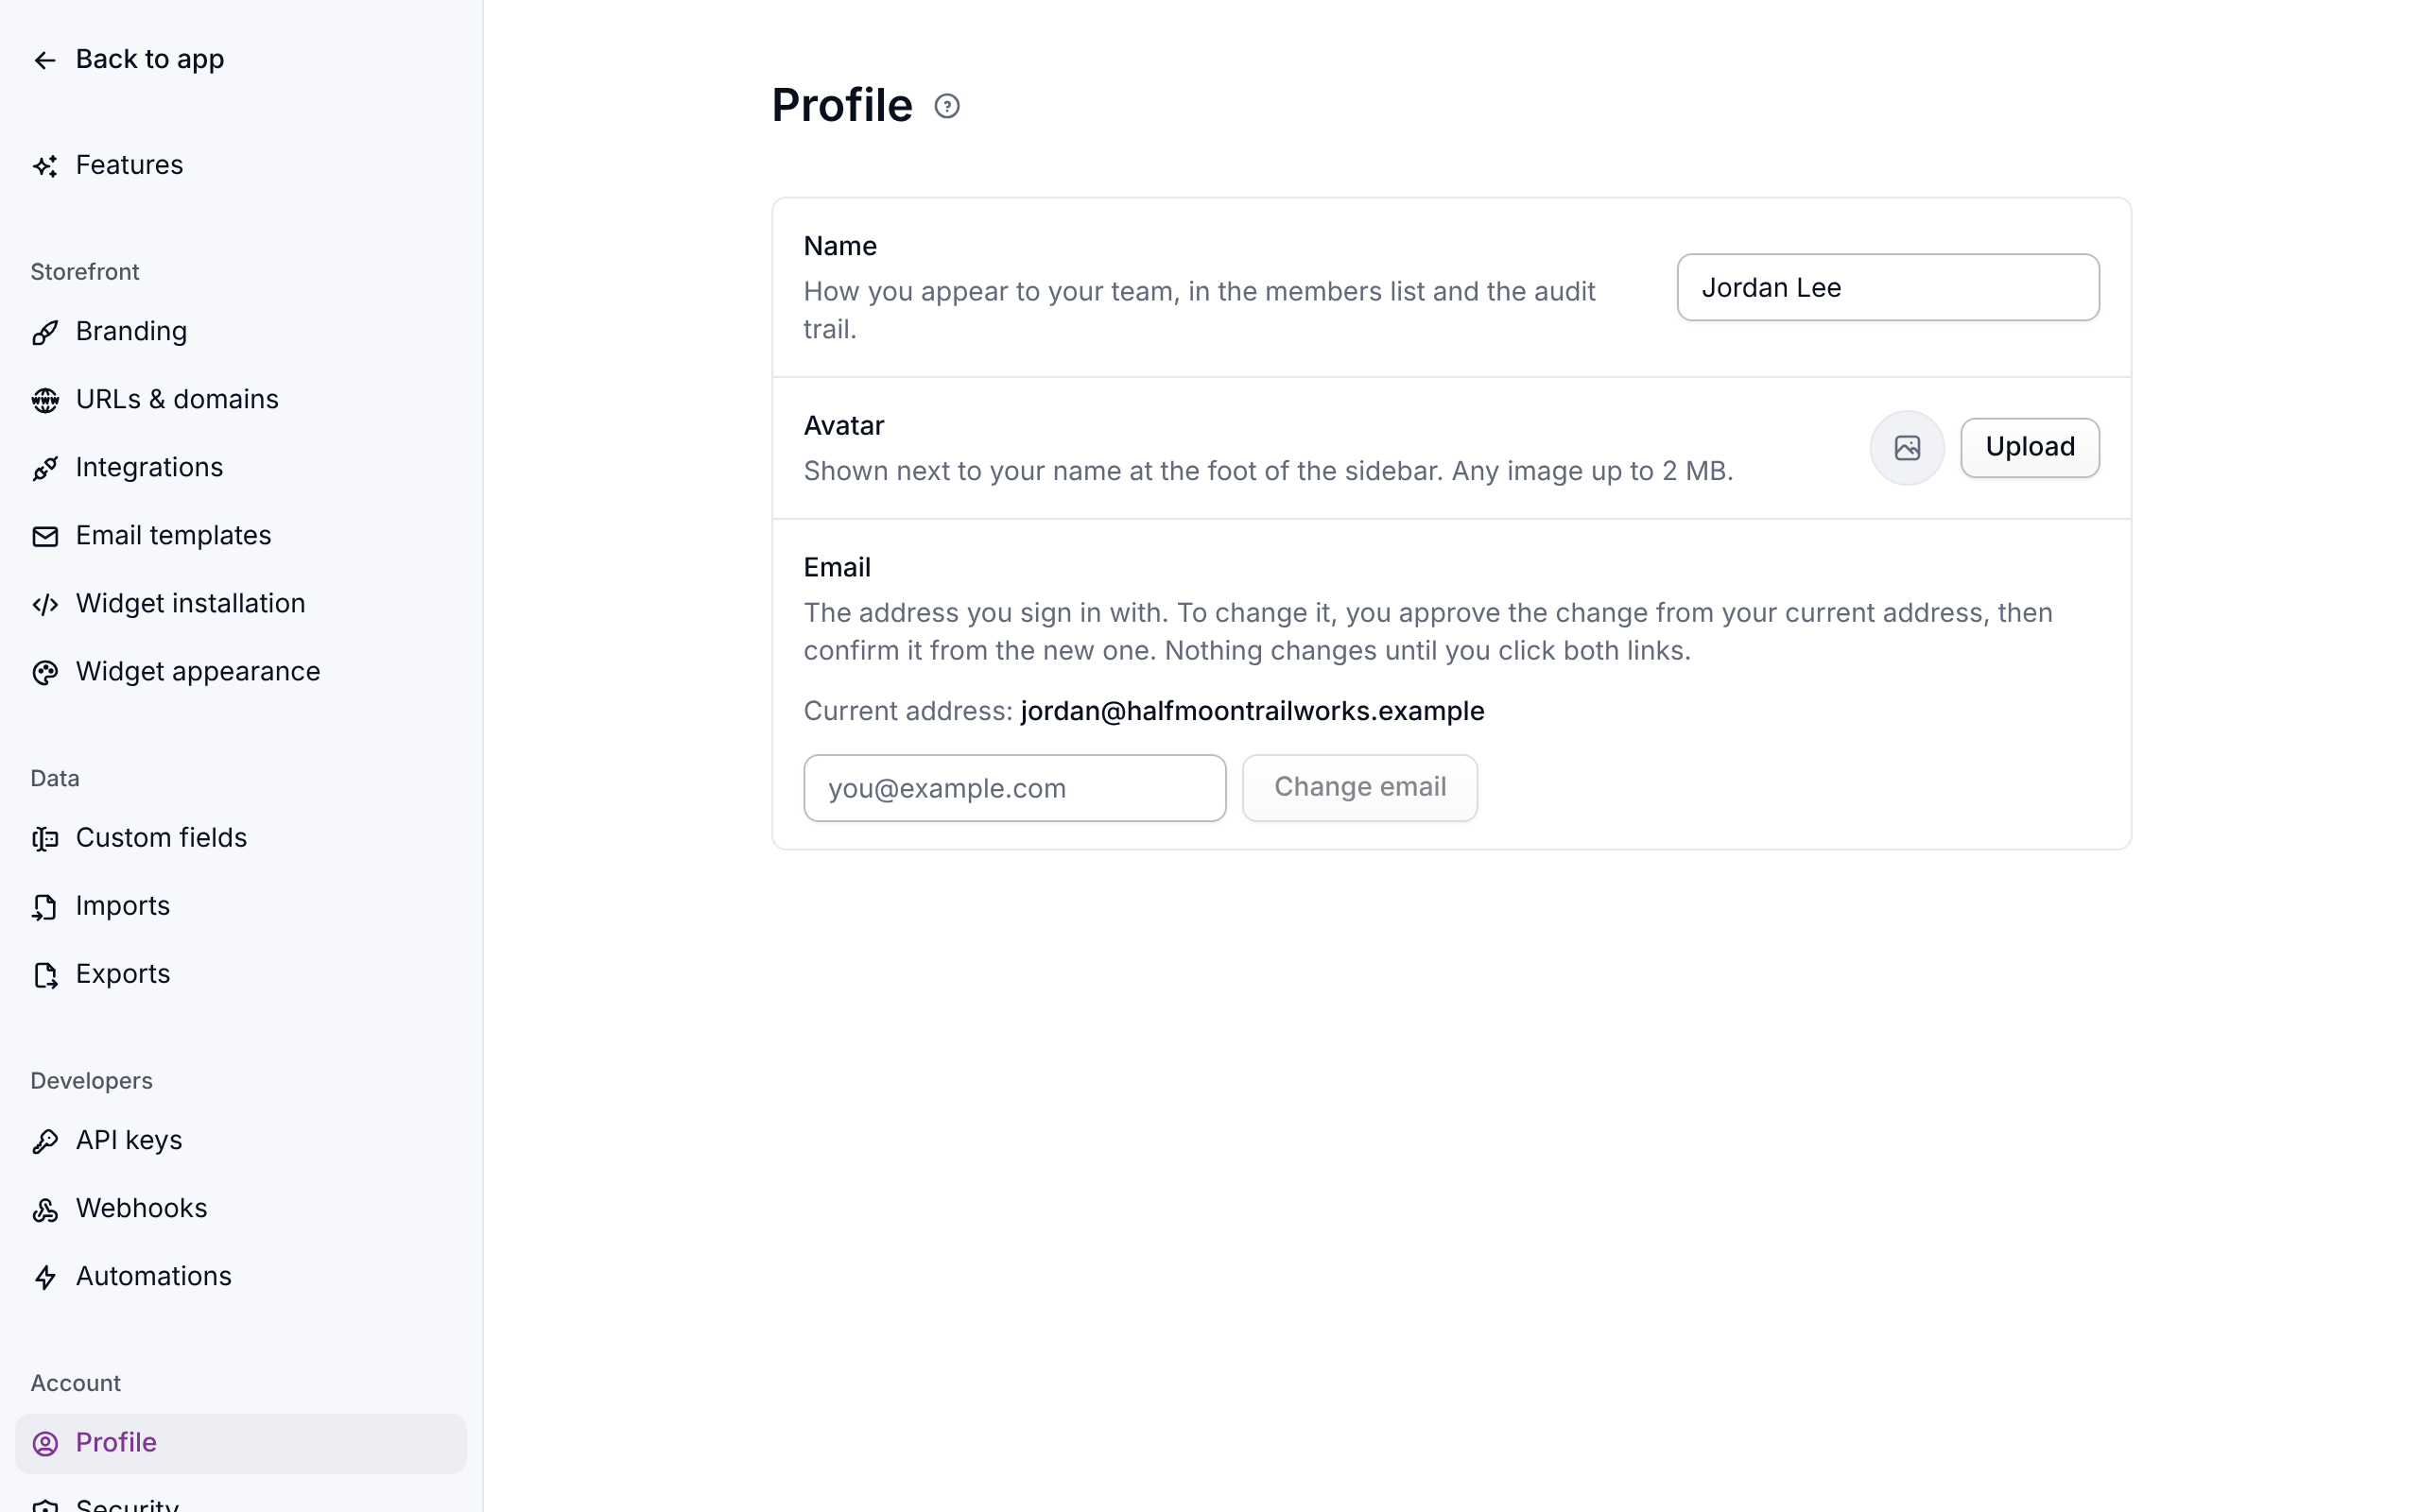
Settings → Profile is about you, not your store: your name and picture as your team sees them, and the email you sign in with. Your picture can be any image up to 2 MB, and a larger one is refused when you save. Changing your email takes two confirmations: an approval link goes to your current address first, then a confirmation link to the new one. Nothing changes until both are clicked, so if you didn't ask for a change, ignore the email.
Theme is in the user menu at the foot of the sidebar. System follows your computer's light or dark setting. Light and Dark keep Meisei in that mode. The choice is saved in that browser, not on your account.
Security
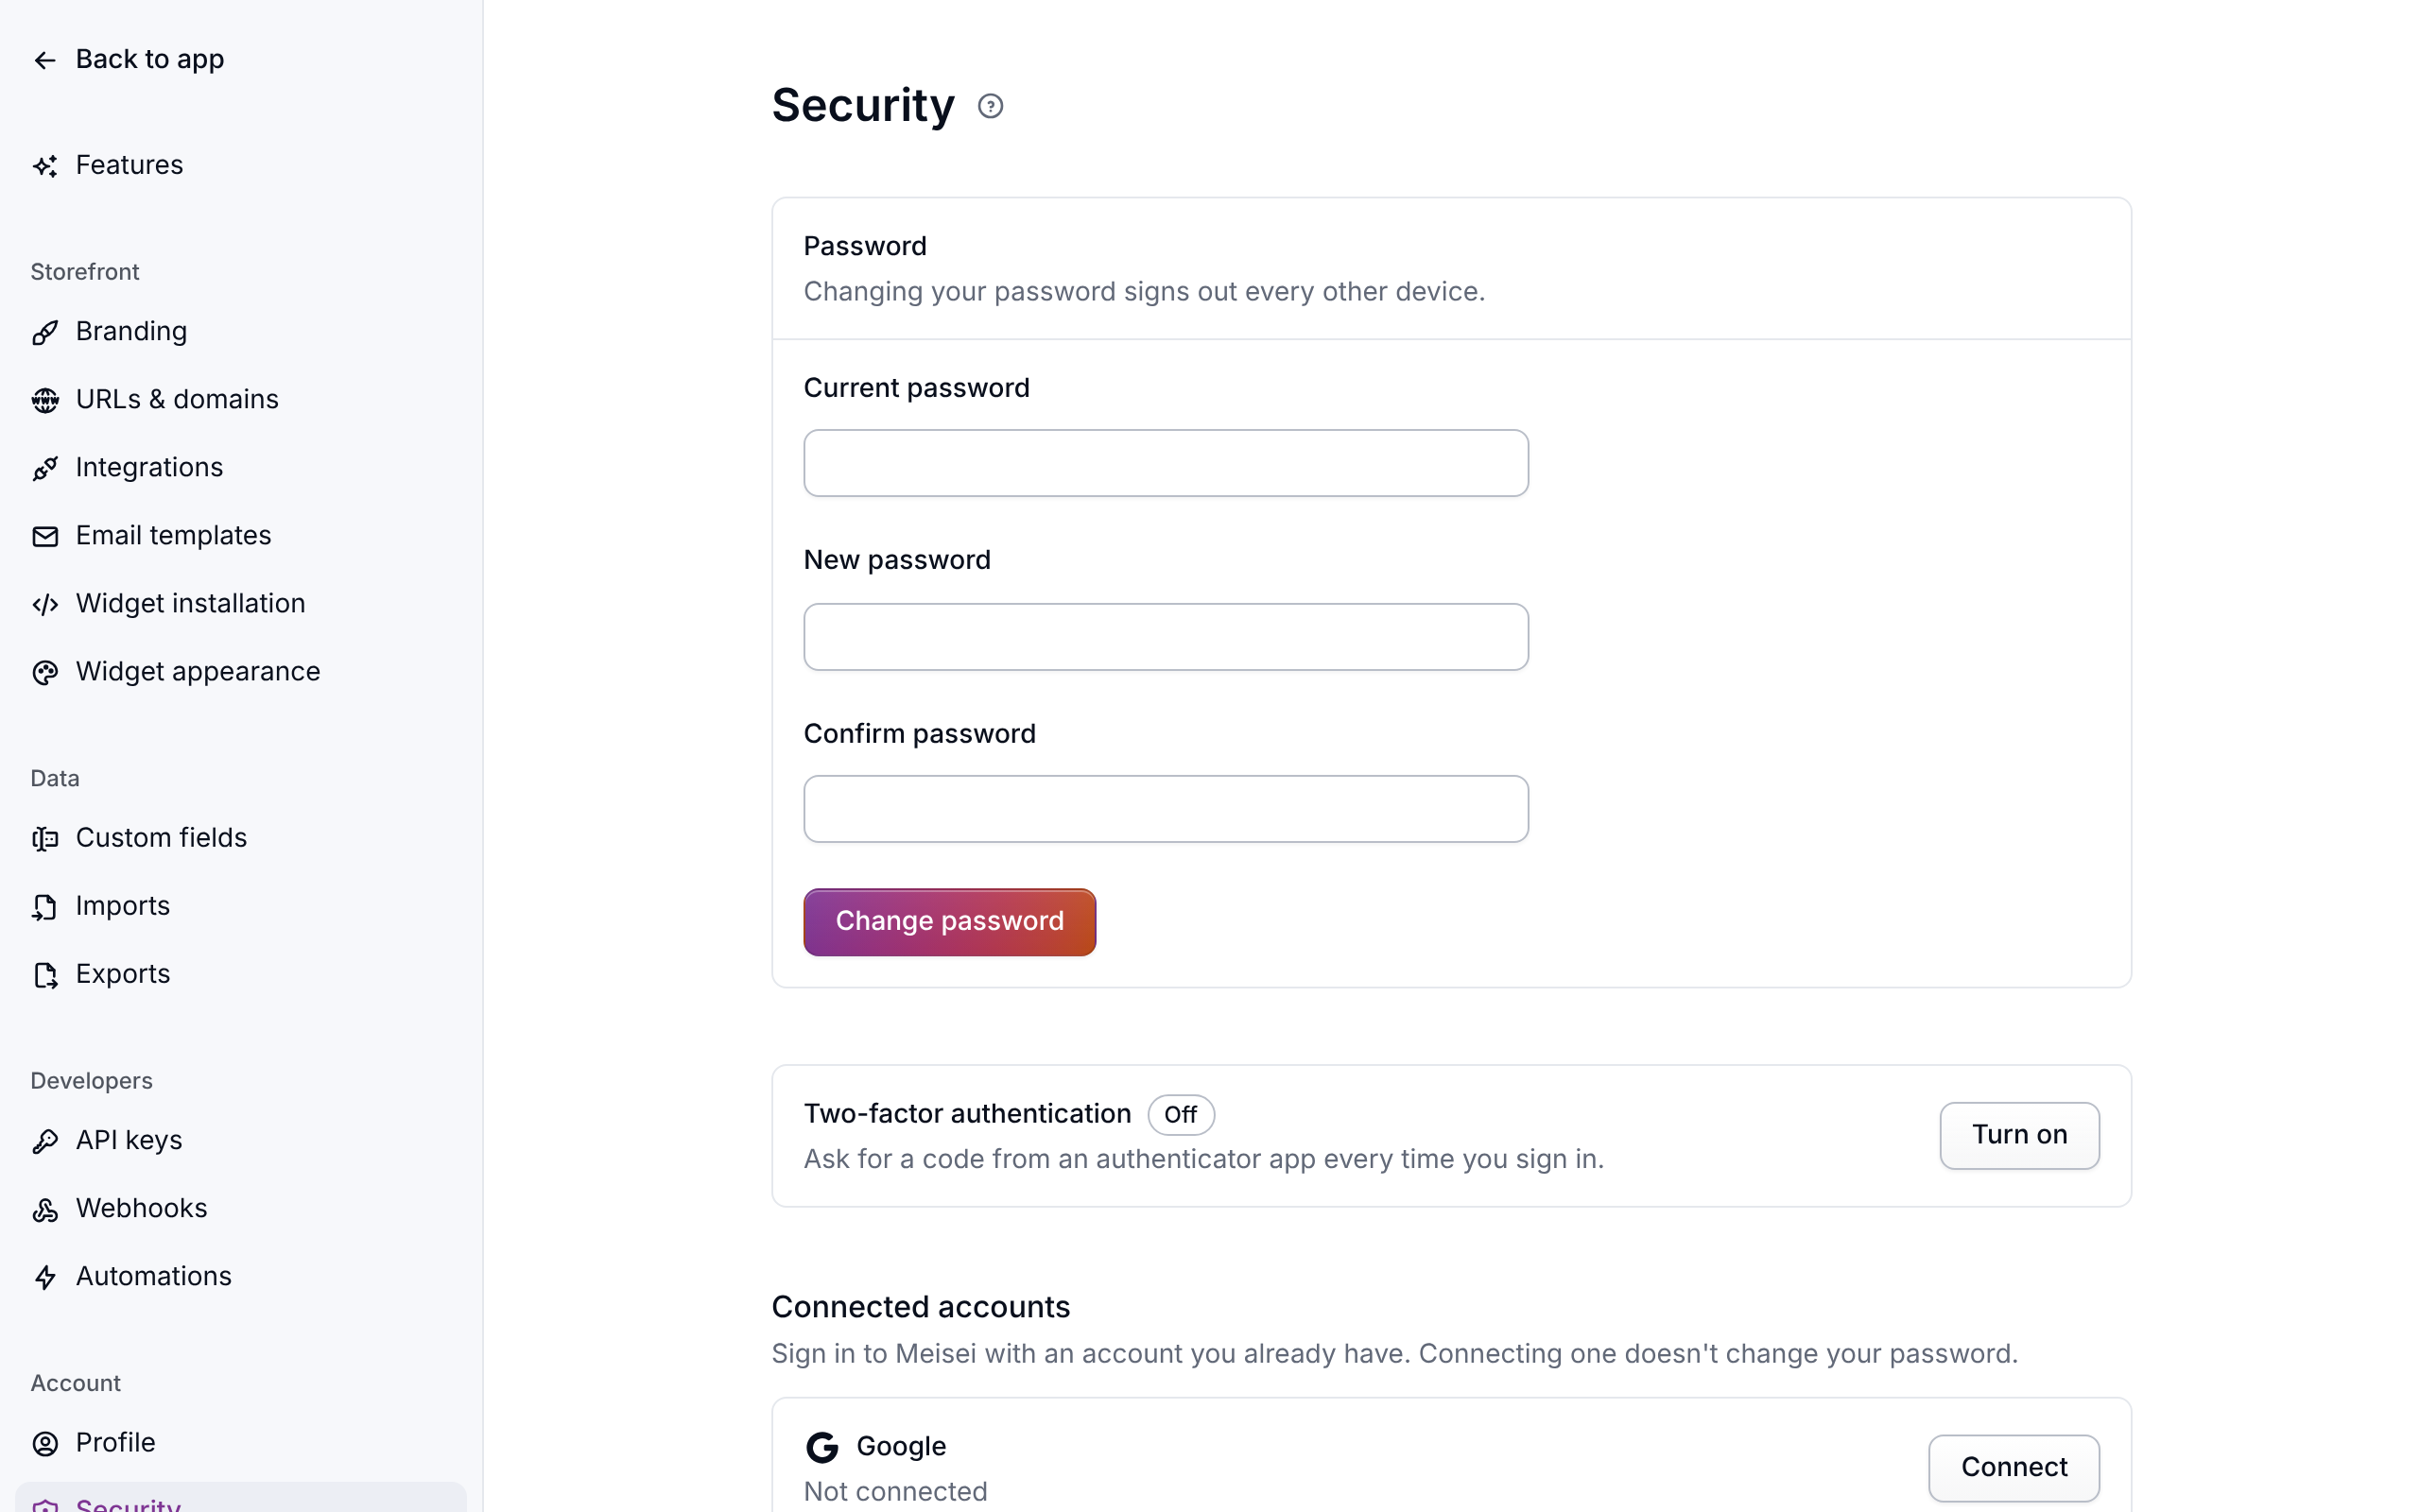
Settings → Security is your own login.
- Change password, which signs out every other device.
- Two-factor authentication, with an authenticator app and backup codes. Keep the codes somewhere other than the device you authenticate on.
- Connected accounts, for signing in with Google, Microsoft or GitHub.
See Signing in. Single sign-on is available on every plan.
Your storefront
- Settings → Branding: each storefront's name, logo and colors. See Running more than one store.
- Settings → URLs & domains: each storefront's web address, sign-in page and loyalty page, and domains of your own, so emails come from your address and your shopper pages use it. See Use your own domain.
- Settings → Integrations: your connected stores, and what happens in Meisei when a product, customer or order is deleted in the store. See Connecting Shopify.
- Settings → Email templates: edit and preview your email layout and the review request. Emails an automation sends are edited on the automation. See Email templates.
- Settings → Widget installation: the script and each widget's snippet, or the Shopify theme steps, for whenever you add a page or change your theme. See Storefront widgets.
- Settings → Widget appearance: colors, corners and custom CSS for the widgets, with a history of past versions. See Storefront widgets.
Features
- Settings → Features → Reviews: automatic publishing, the questions asked beside the star rating, content screening, AI features, notifications, and whether reviews go when their product or customer does. See Reviews.
- Settings → Features → Loyalty: your program's name and how customers join, points, when rewards expire, the widget's sections, how many days ahead members are warned before a reward or points expire, and a link to the Loyalty member emails automation, where each email is switched on or off and edited. See Loyalty emails.
- Settings → Features → Wishlists: one list or several, public sharing and whether shared lists show prices, whether visitors can mark items as purchased, and shoppers' own photos on saved items. See Wishlists. Price-drop and back-in-stock alerts are an automation: see Wishlist alerts.
Data
Settings → Custom fields adds your own details to customers, products and orders. See Custom fields.
Settings → Imports and Settings → Exports show each job's progress, problem rows and download links. See Imports and exports.
For developers
Settings → API keys creates and revokes secret and publishable keys, sets their permissions, expiry and IP allowlist, and rotates one that has leaked. The widget signing secret is in its own section below the keys, with a rotate button. Only an owner can change keys or see the signing secret, because both keep working after the person who copied them leaves. Settings → Webhooks registers an endpoint, chooses its events and shows delivery history. Settings → Automations runs scripts and ready-made email flows on an event or a schedule. See Authentication, Storefront widgets, Webhooks and Automations.