
Running more than one store
Most stores need only one storefront in Meisei, and it is created for you when you connect your store. If that's you, there is nothing to do here. This page is for when you run a second storefront and want it under the same account.
When to add a second store
- A separate brand, with its own look and its own reviews.
- A separate region or domain, where the same products are sold at different prices or in a different language.
- A second Shopify store you want in the same account.
Don't add one for a test copy of your store. Use a separate account for that, so test data never mixes with real customers.
Add a store
-
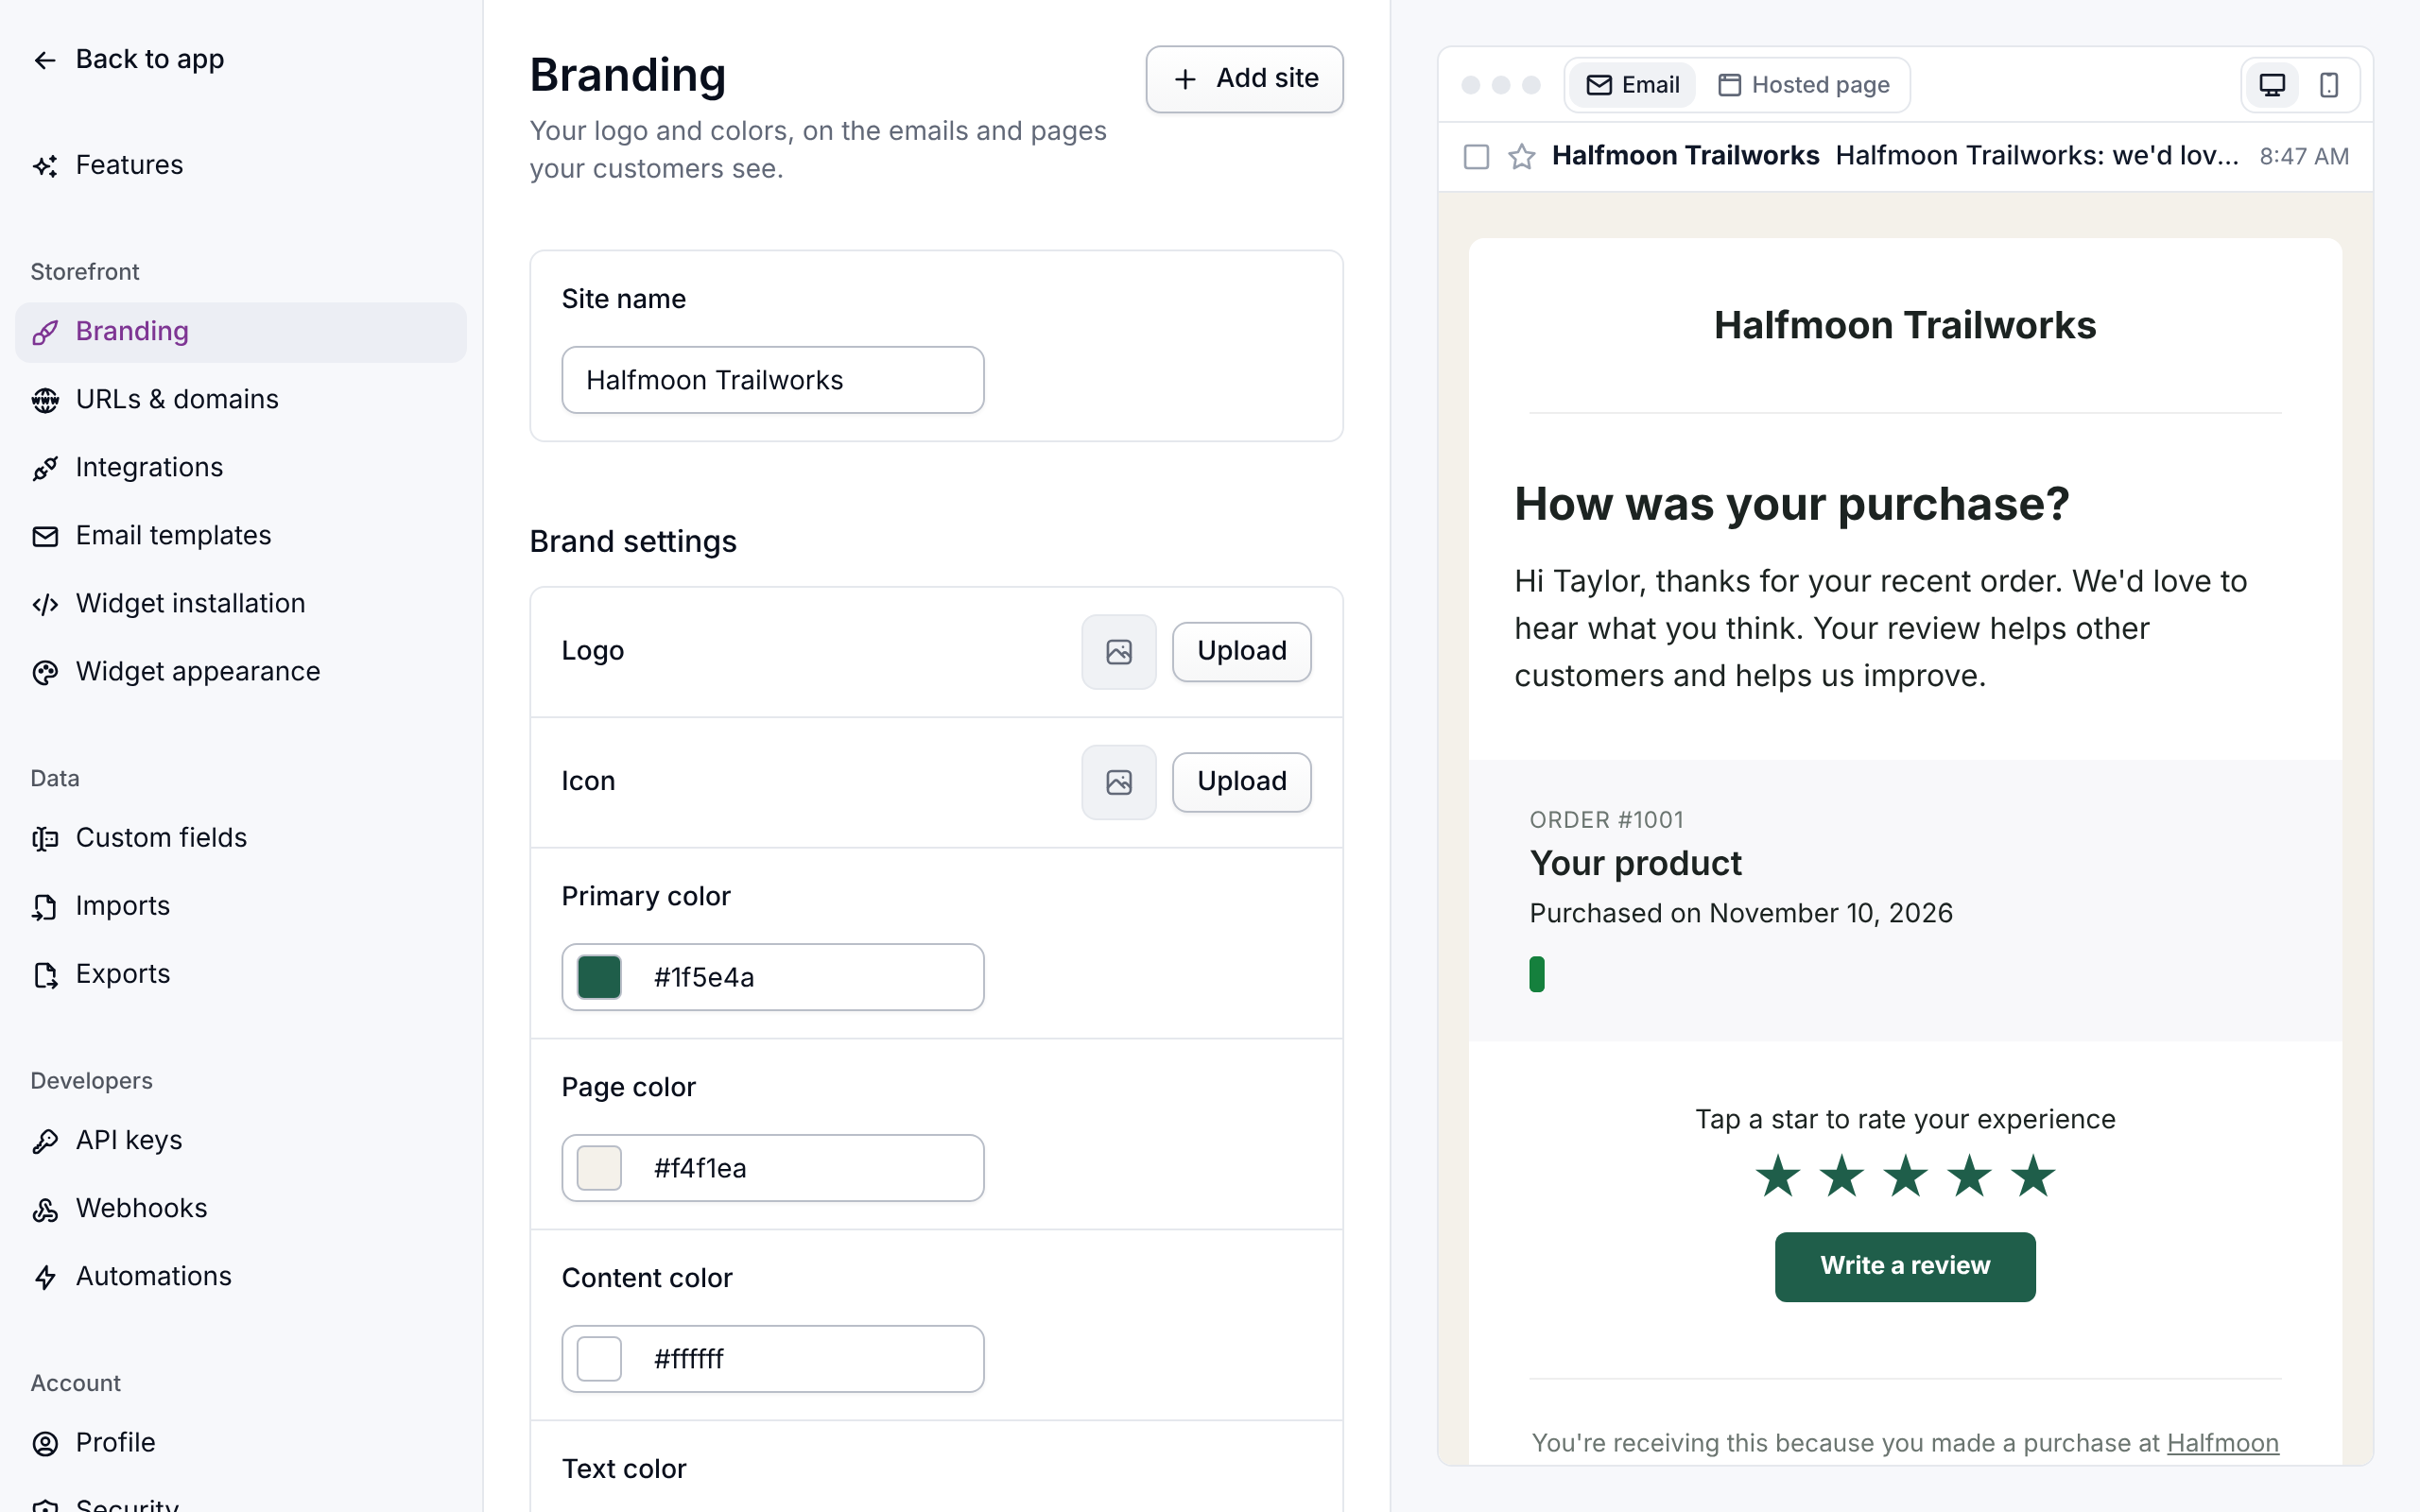
Open Settings → Branding and press Add site. Your plan decides how many you can have, and the button only appears on a plan with room for more than one.
-
Give it a name and your storefront's web address. Emails and customer pages link back to that address.
-
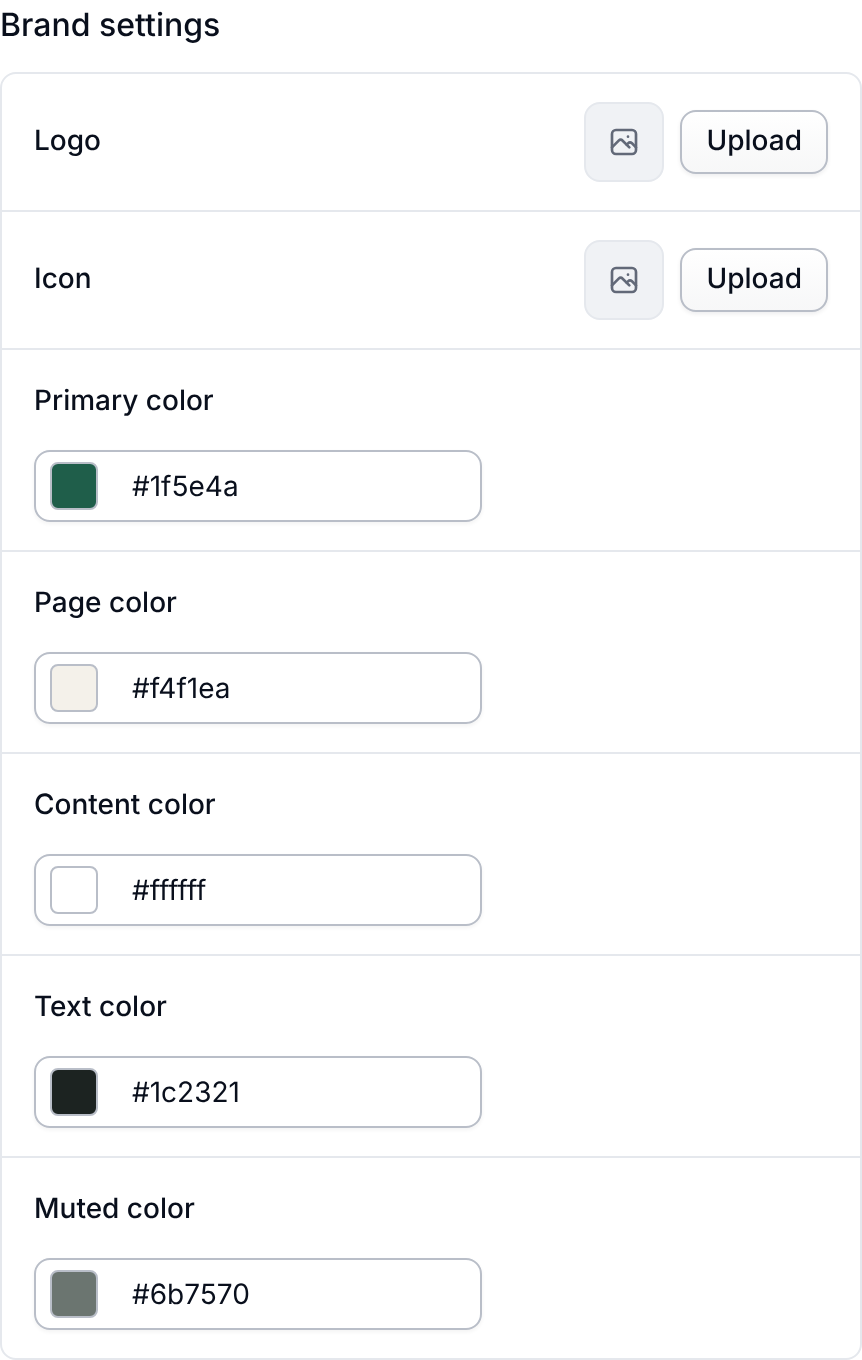
Upload its logo and square icon, and set its colors. They're used on the emails Meisei sends and the pages it hosts for your shoppers (the review form, shared wishlists, the unsubscribe page). With more than one store, tabs at the top of the page switch between them.
-
Check the preview beside the form. It shows a review request email or the hosted review page with this store's branding; switch between them with Email and Hosted page above it. Colors that look right in the dashboard can be hard to read in an email client's dark mode, so try the phone size too.
-
Connect the store or point its widgets at Meisei. See Connecting Shopify or Storefront widgets.
Each store's addresses
Everything about where a store lives is under Settings → URLs & domains, with the same tabs to switch between stores: its web address, its sign-in page, the page that shows its loyalty program, and which of your own domains its hosted pages and emails use. See Use your own domain.
What each store keeps separate
- Reviews belong to the store they were left on, and the ratings on each storefront are that store's ratings.
- Email branding comes from the store the email is about, so a review request carries the right logo and colors, and its sending address is the one set on that store.
- The loyalty page address your member emails link to is set per store under Settings → URLs & domains.
What your stores share
- Customers and orders. A shopper who buys from both storefronts is one customer with one loyalty balance.
- Loyalty programs apply to every store, including ones you add later.
- Products can appear on more than one store, so one catalog can serve two storefronts. See Importing products.
Remove a store
Deleting a store under Settings → Branding (the delete button shows once you have more than one) removes the reviews left on it and its link to your products. To disconnect a Shopify store and keep your data, disconnect the integration under Settings → Integrations instead. See Connecting Shopify.
Next steps
- Connecting Shopify, to bring the second store's products and orders in.
- Storefront widgets, to show reviews and loyalty on it.
- Email templates, to check how its branding looks.
For developers
Each site has a slug, unique within the organization. Imports name a site by slug rather than by id, next to a record's ID on that site:
Widgets resolve the site from the publishable key and the product they render, so nothing is configured per site on the storefront beyond using the right key. A loyalty program can be detached from some sites through the API; the dashboard never does this.